|
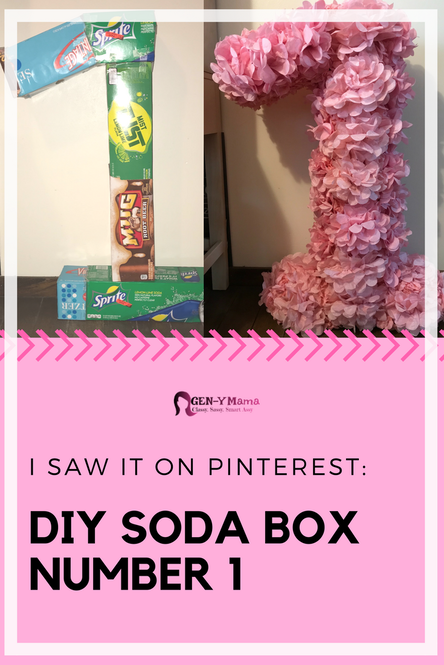
Our little one's first birthday is quickly approaching and I've started tackling some DIY projects for decorations. I've said it before and I'm sure I'll say it again, I would much rather pay someone to do these types of things for me since I was not really blessed with the "crafty gene" but since becoming a mom I've realized it is best to spend our money on more important things than decorations. So I searched on Pinterest (of course) for ideas, EASY ideas. I stumbled upon these huge number 1 decorations and I decided this might just be the project for me. There are many different variations of this craft, I've seen images of people cutting cardboard boxes and using baby cereal boxes but the one that caught my eye was the one that used soda can boxes.
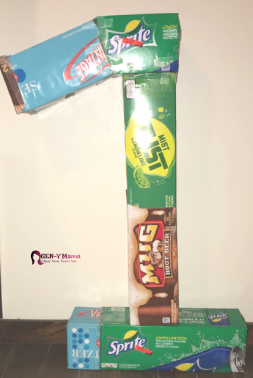
Normally pins come with instructions and a link to a blog post that shows the steps for how to make the item pictured however, no such luck with this one. The "Before"
To complete the one, I took a fifth box (a second Sprite) and cut it in half then took the second box from earlier (Seltzer) and cut it to size. Since I had cut this box on both ends I wanted a smooth finish so I snagged the top of the third box (Mug) to close it up. This way all of the ends were closed. After I was happy with the shape, I felt like it would be a good idea to add some weight to the base and "stem". I simply shoved a few magazines through the slits of the soda boxes. I wanted to make sure that this wouldn't be knocked over easily. I put three magazines in the base and two in the "stem". I didn't weigh down the top at all. The "During"
 When looking at different examples I found some people used flowers to cover the boxes, others used tissue paper, some painted it.. Not being super crafty and quite frankly proud I made it as far as I did, I decided to take a shortcut for most of it.
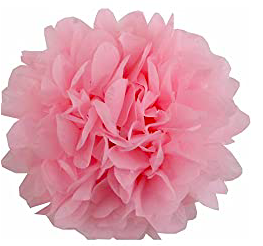
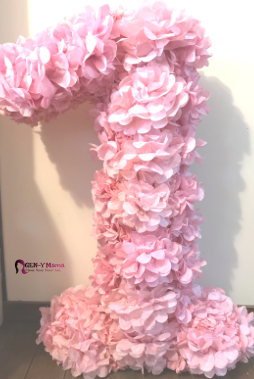
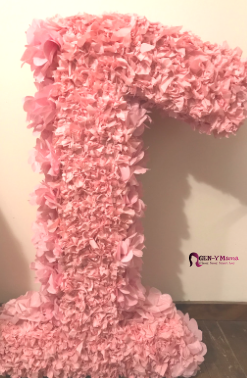
First, I fanned them out and created the ball shape as it states in the instructions. Then I found the middle where it is tied off and cut them in half. I taped the bottoms to make sure they kept their shape and lastly, I glued the halves onto the number. 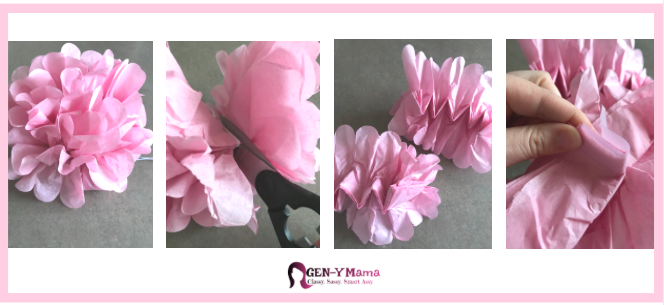 I wanted to ensure the front looked great, so I repeated this process for the two side panels. For the back, top and the under part of the top, I used pieces of tissue paper and despite how it appears to have photographed, it is all the same color. While the back doesn't look bad, I think the front looks much better as it has more fluff and looks more put together. It was simply more cost-effective to use tissue paper for the parts that really weren't going to be seen. The "After"
Preparation has officially begun and I have to admit I am really proud of myself for getting this piece together. I think it will look great on Princess C's gift table at her party in just a few short months! Stay tuned for more party prep and the post-party recap to see how everything came together!
1 Comment
Ruby Kuamo'o
6/2/2022 04:34:11 am
Thank you for sharing. I made one for my granddaughter Your comment will be posted after it is approved.
Leave a Reply. |

 RSS Feed