|
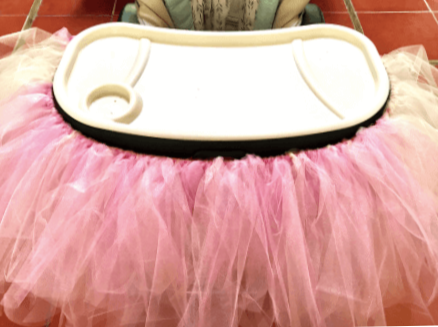
Baby's first birthday is a huge milestone for both baby and the parents and whether or not you decide to have a big party or a small gathering at home decorating for the occasion can be fun without breaking the bank. Case in point, the High Chair Tutu. This can be created in a multitude of colors and fabrics, but for this example I'm breaking down exactly how I created a High Chair Tutu out of tulle and the there easy steps it took.
DIY High Chair Tutu For Baby's First Birthday
This post contains affiliate links. As an Amazon Associate I earn from qualifying purchases.
DIY High Chair Tutu: Supplies
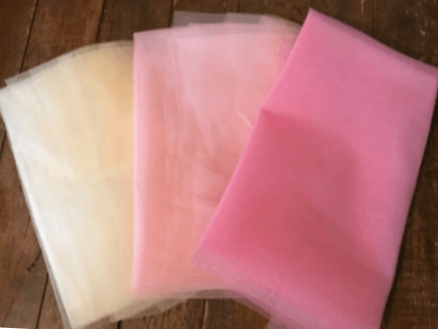
Tulle, 1 or more colors - I purchased mine at a local Joanne Fabric store
Scissors Rotary Cutter Hobby Mat Ribbon or elastic, I used ribbon Glue dots, Velcro or tape for adhering the tutu to the highchair
Related: DIY Closet Wrapping Station
DIY High Chair Tutu: Step 1
Purchase fabric and start cutting!
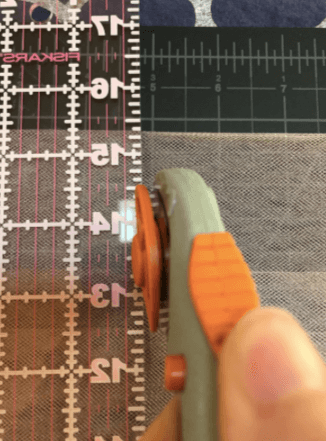
Once I got back from the fabric store I had to cut the tulle into strips, measuring about how far down I wanted to the tulle to hang from the highchair and then doubling it*.
*This is important because if you only cut the tulle the length you want it to hang down, when you tie it on the ribbon it will actually hang down half that length. I folded the tulle over and cut it, using my rotary cutter and hobby mat. You can use scissors to cut the tulle but I imagine it will take much longer. I didn't use the rotary cutter to be precise but to save time. If the strips of tulle aren't completely equal or even it really doesn't matter in the long run once they are tied on to the ribbon and hanging in a group. DIY High Chair Tutu: Step 2
Create a pattern.
Example: I used 3 colors of tulle (because since this was my first go-around I of course had to make it more complicated for myself).
I decided I wanted to use the lighter, champagne color tulle on the sides of the highchair, with the main focus in the front being on the darker and lighter pinks.
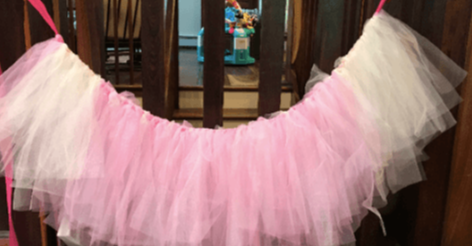
The pattern I created was as follows: 1 dark pink, 1 light pink (repeat 3 more times), 1 champagne, 1 dark pink, 1 light pink (repeat 3 more times), 1 champagne and so on and so forth until I ran out of both pinks. Then I would use the champagne to finish it off. I found the champagne broke up the pinks just enough in the front to give it some dimension but did not over-whelm it at all. DIY High Chair Tutu: Step 3
Loop the tulle over the ribbon.
I tied the ribbon to a banister in my house that allowed me to have the tutu straightened out as I worked. I then took the strips of tulle and one at at time, tied them to the ribbon. This process isn't hard, it is a bit time consuming. There are only three steps though:
Fold the strip of tulle in half and place it under the ribbon. Tie the tulle in a knot and pull tightly. Repeat. I did this over and over and over and over again but I must say I am very pleased with how it came out. DIY High Chair Tutu: The Finished Product
4 Comments
Joycelyn O'Neal
5/20/2021 11:39:26 pm
I am going to try this.
Reply
Karen
2/20/2022 06:30:11 pm
How wide did you make the tulle strips?
Reply
Kristen / Gen Y Mama
2/25/2022 11:19:50 am
Hi Karen! I believe I made the strips about 5 inches wide :)
Reply
Kathy
3/1/2022 09:51:59 am
How many yards of tullle did you buy?
Reply
Your comment will be posted after it is approved.
Leave a Reply. |

 RSS Feed